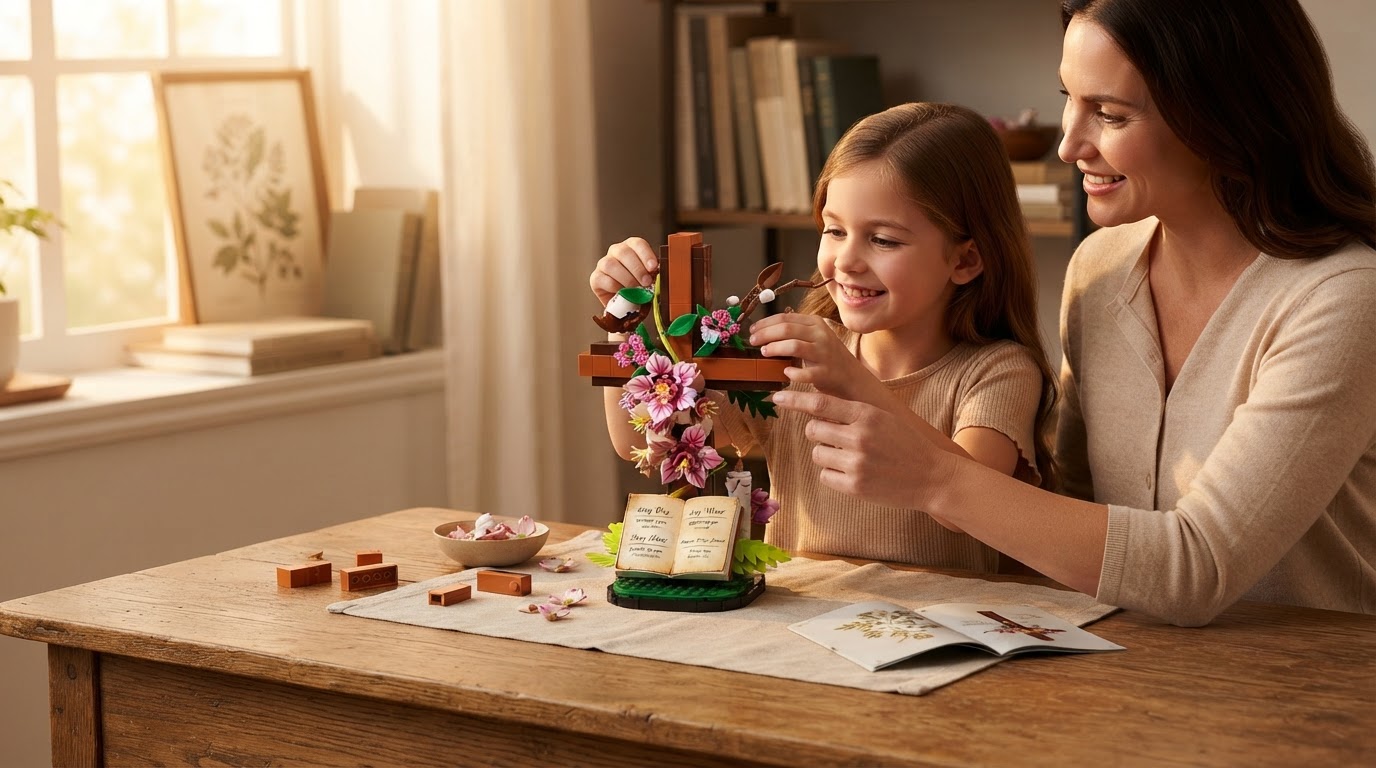
Assembling the DIY Wooden Cross Kit for Home Decor
 Daniel OkaforField Tester
September 24, 2026. This review covers the practical assembly process and material quality of a DIY wooden cross kit for interior display. It is written for hobbyists and families looking for a structured woodworking project that balances ease of use with a professional finished appearance.
The Challenge of Precision in Home Woodworking
I tested this for a weekend project in my home workshop to see if a pre-cut kit could actually match the quality of a scratch-built piece. When you decide to create a religious symbol for your home, the margin for error is surprisingly slim. A slight misalignment in the joinery or a rough edge on the crossbeam becomes immediately apparent once the piece is hung on a wall. According to Build-A-Cross, many unfinished wood crosses are designed to meet diverse craft needs, often arriving unpainted to allow for personal customization. However, the difficulty for the average consumer isn't just the painting; it is the structural integrity of the build.
In my experience, sourcing high-quality hardwoods like walnut or maple in small quantities for a single project is both expensive and time-consuming. I’ve spent hours at the lumber yard trying to find straight-grained pieces that won't warp over time. Many people turn to a wooden cross model kit because it removes the barrier of heavy machinery, but even then, the quality of the wood matters. Day three is where I noticed the difference in how certain softwoods react to humidity compared to denser materials. If the kit uses inferior plywood, you often see delamination at the edges after applying stain. The goal of a DIY kit should be to provide a foundation that doesn't require a professional woodshop to correct. Without the right pre-cut components, you are often left with gaps in the lap joints that require wood filler—a shortcut that rarely looks good under a clear coat.
Integrating the Cross Building Set System
What surprised me was how the Cross Building Set methodology simplifies the complex geometry of a traditional cross. While some kits, like the Small Layered Cross Build Kits from Dennehey Design, utilize up to 20 pieces of solid walnut, oak, and maple to create a layered effect, the Cross Building Set focuses on a tactile, interlocking experience. I found that the precision of the cuts allowed for a friction-fit that held steady even before I applied wood glue. This is a significant departure from the loose tolerances I’ve seen in generic craft store kits.
When I moved from the wooden components to the christian building blocks style of assembly, I realized the educational value for younger builders. The pieces are designed to fit together in a way that teaches basic structural physics without the frustration of slipping parts. Here's the moment it earned its place: I dropped a partially assembled section from my workbench, and instead of splintering or shattering, the interlocking mechanism absorbed the impact. For a family project, this durability is essential. Unlike a standard wooden cross model kit that might rely solely on thin adhesive, this system uses the geometry of the blocks to reinforce the vertical and horizontal axes. What I'd do differently next time is apply a light sanding to the transition points between blocks to create a seamless monolithic look, though the raw aesthetic of the cross building set has its own modern appeal. The tactile feedback during assembly provides a sense of accomplishment that you simply don't get from a pre-molded plastic item. It bridges the gap between a toy and a piece of decor.
Selecting the Right Kit for Your Project
Choosing a kit requires looking past the box art and evaluating the actual material specs. Not all kits are intended for permanent display; some are designed for temporary activities like Vacation Bible School. For example, the Kids DIY VBS Craft Kit is specifically scaled at 9.5 inches and 6 inches for quick assembly and easy hanging via a keyhole. When you are looking for a kit that will last for years, you need to consider the weight, the type of joinery, and the finishing options available. A high-quality kit should feel substantial in the hand and offer clear instructions that don't leave you guessing about alignment.
Before you start your next build, use this checklist to ensure the kit meets your requirements:
- Verify the wood species: Ensure the kit uses solid hardwoods or high-density composites that won't warp in humid environments.
- Check for pre-drilled holes: If the kit requires screws or hanging hardware, pre-drilled holes prevent the wood from splitting during the final steps.
- Assess the joinery style: Look for interlocking pieces or lap joints rather than simple butt joints, which are prone to failing over time.
- Review the finish compatibility: Ensure the surface is sanded to at least 120-grit if you plan on staining; higher grits are needed for a smooth paint finish.
- Confirm dimensions: A 9-inch cross works well for a desk, while a 15-inch or larger piece is better suited for a focal wall.